
When Does a Tent Need Waterproofing
Learning how to waterproof a tent is mostly about maintenance, not rescue. A good tent should already keep rain out, but over time coatings wear, seams age, dirt builds up and water stops beading on the flysheet. In the UK, where tents are often packed wet after rainy camps, this can happen faster than expected.
A tent may need attention if rain no longer beads on the outer fabric, the flysheet wets out quickly, water appears along seams, or the groundsheet feels sticky, flaky or damp underneath your sleeping mat. Sometimes the issue is not the fabric at all. Poor pitching, sagging panels, blocked ventilation or water pooling under the tent can also make a shelter feel less waterproof.
Step One Clean the Tent First
Before applying any waterproofing product, clean the tent properly. Pitch it in a garden or open space if possible. Brush off dried mud, grass and grit. Use lukewarm water, a sponge and a cleaner suitable for outdoor fabrics. Avoid household detergents because they can damage coatings.
Let the tent dry fully before reproofing. This part is not glamorous, but it matters. Waterproofing products work better on clean fabric, and seam sealant will not bond properly to dirt or old peeling coating.
Step Two Check the Seams
Seams are one of the most common places for leaks. If water is coming through stitch lines, you need to reseal them.
For PU coated tents, use a seam sealer designed for polyurethane coated fabric. For silicone coated tents, use silicone seam sealer. This distinction matters. The wrong product may not stick properly.
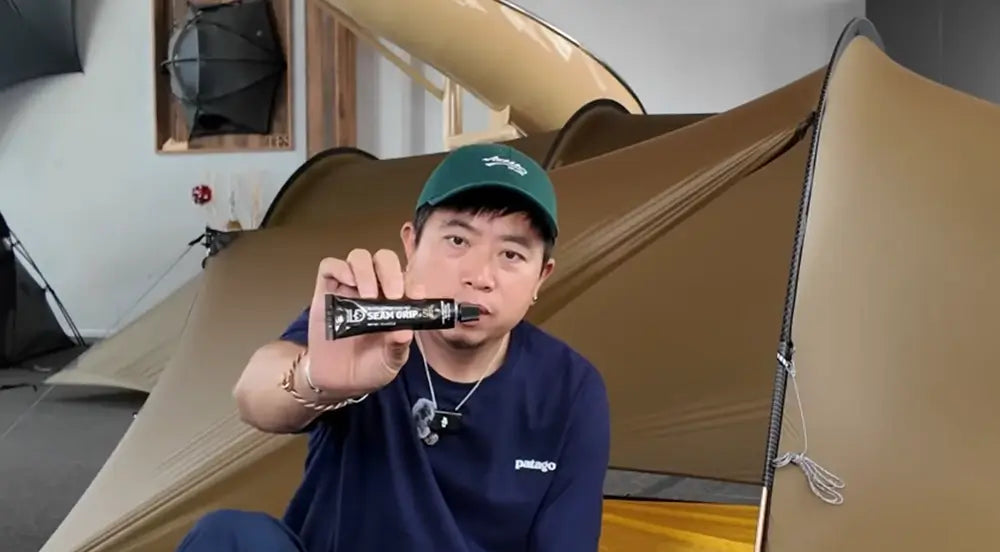
Seam Sealing with Gear Aid Seam Grip SIL
TFStents uses Gear Aid Seam Grip SIL for silicone coated tents. This sealant is designed for silnylon and other silicone treated fabrics, so it bonds properly where standard PU seam sealers may not work well. One reason TFStents prefers it is that it is easy to apply with a small brush and dries relatively quickly compared with many traditional seam sealing mixtures.
The process is simple. Pitch the tent tightly, clean and dry the seam area, then brush a thin layer of Seam Grip SIL along the stitching. Focus on stress points such as corners, guyline loops, zip areas and pole attachment points. After sealing, leave the tent pitched until the glue is fully dry. A light, even coat is usually better than applying too much at once.
How to Seal Tent Seams
Pitch the tent tightly so the seams are easy to access. Clean the seam area, let it dry, then apply a thin, even layer of seam sealer along the stitching. Pay close attention to floor corners, guyline attachment points, pole clips, door zips and any high stress areas. Leave it to cure fully before packing the tent away.
A Reddit camping discussion on tent waterproofing had a familiar theme: many leaks are actually seam or pitching problems rather than the whole tent “failing”. That is worth remembering before covering the entire shelter in product.
Step Three Reproof the Flysheet
If water no longer beads on the flysheet, the durable water repellent finish may be worn. This does not always mean the waterproof coating has failed, but it can make the tent wetter, heavier and more prone to condensation.
Use a tent specific waterproofing spray or wash in treatment, depending on the product instructions. Apply it evenly to the clean outer fabric. Some products work best on damp fabric, others on dry fabric, so follow the label carefully.
Do Not Overdo It
More product does not always mean better protection. Thick, uneven layers can leave marks, attract dirt or affect breathability. A light, even application is usually better than soaking the fabric.
Step Four Inspect the Groundsheet
The tent floor takes more abuse than the flysheet. Stones, roots, wet grass and repeated packing can wear the coating. If the groundsheet is leaking, clean it first, then check for holes, worn patches or peeling coating.
Small holes can be repaired with patches or repair tape. Larger areas of worn coating may need a specialist floor sealant. Again, match the product to the fabric type.
Use a Footprint Carefully
A footprint can protect the tent floor, especially on rough or wet UK campsites. Make sure it does not extend beyond the tent edge. If it sticks out, rain can land on the footprint and run underneath the tent.
Step Five Test Before the Trip
After waterproofing, do not wait until a rainy night in Snowdonia or the Lake District to find out if it worked. Pitch the tent at home and spray it gently with a hose or leave it out in light rain. Check seams, corners, door areas and the floor.
Let the tent dry completely before storage. Packing it damp for long periods can lead to mildew, odour and coating damage.
Common Mistakes
Common tent waterproofing mistakes include using household detergent, applying the wrong seam sealer, reproofing a dirty tent, packing the tent away wet, ignoring the groundsheet, and assuming every leak is a fabric problem.
A badly pitched tent can leak or collect condensation even when the fabric is fine. Keep the flysheet tensioned, use guylines properly and avoid pitching in hollows where water collects.
Final Thoughts
Knowing how to waterproof a tent can extend the life of your shelter and make wet trips much less stressful. Start with cleaning, then check the seams, refresh the flysheet, inspect the groundsheet and test everything before your next camp.
For UK campers, this is not just maintenance. It is part of owning a tent. Rain will arrive eventually. A well cared for tent gives you a better chance of sleeping through it.
Leave a comment
All comments are moderated before being published.
This site is protected by hCaptcha and the hCaptcha Privacy Policy and Terms of Service apply.